# Get Started with Amore
There are 4 steps to get started with Amore.
1. [Download Amore](/download) (or install via Homebrew: `brew install amore`)
2. Add your app to Amore.
3. Add Sparkle to your project.
4. Publish your app.
## Video
In case you prefer to watch a video, here's this guide as a [video (3:35)](https://cdn.amore.computer/videos/get-started.mp4).
## Add your app to Amore
The easiest way to get started with Amore is to drag your app binary (`.app`) into Amore.
You will then have to decide if you want to host your app on Amore or self-manage an S3 bucket.
It's recommended to select `Amore` because the setup is simpler, you will be able to make use of advanced features and Amore will choose the best defaults for your app.
If you prefer to self-manage S3 you can learn more [here](/help/s3-bucket/).
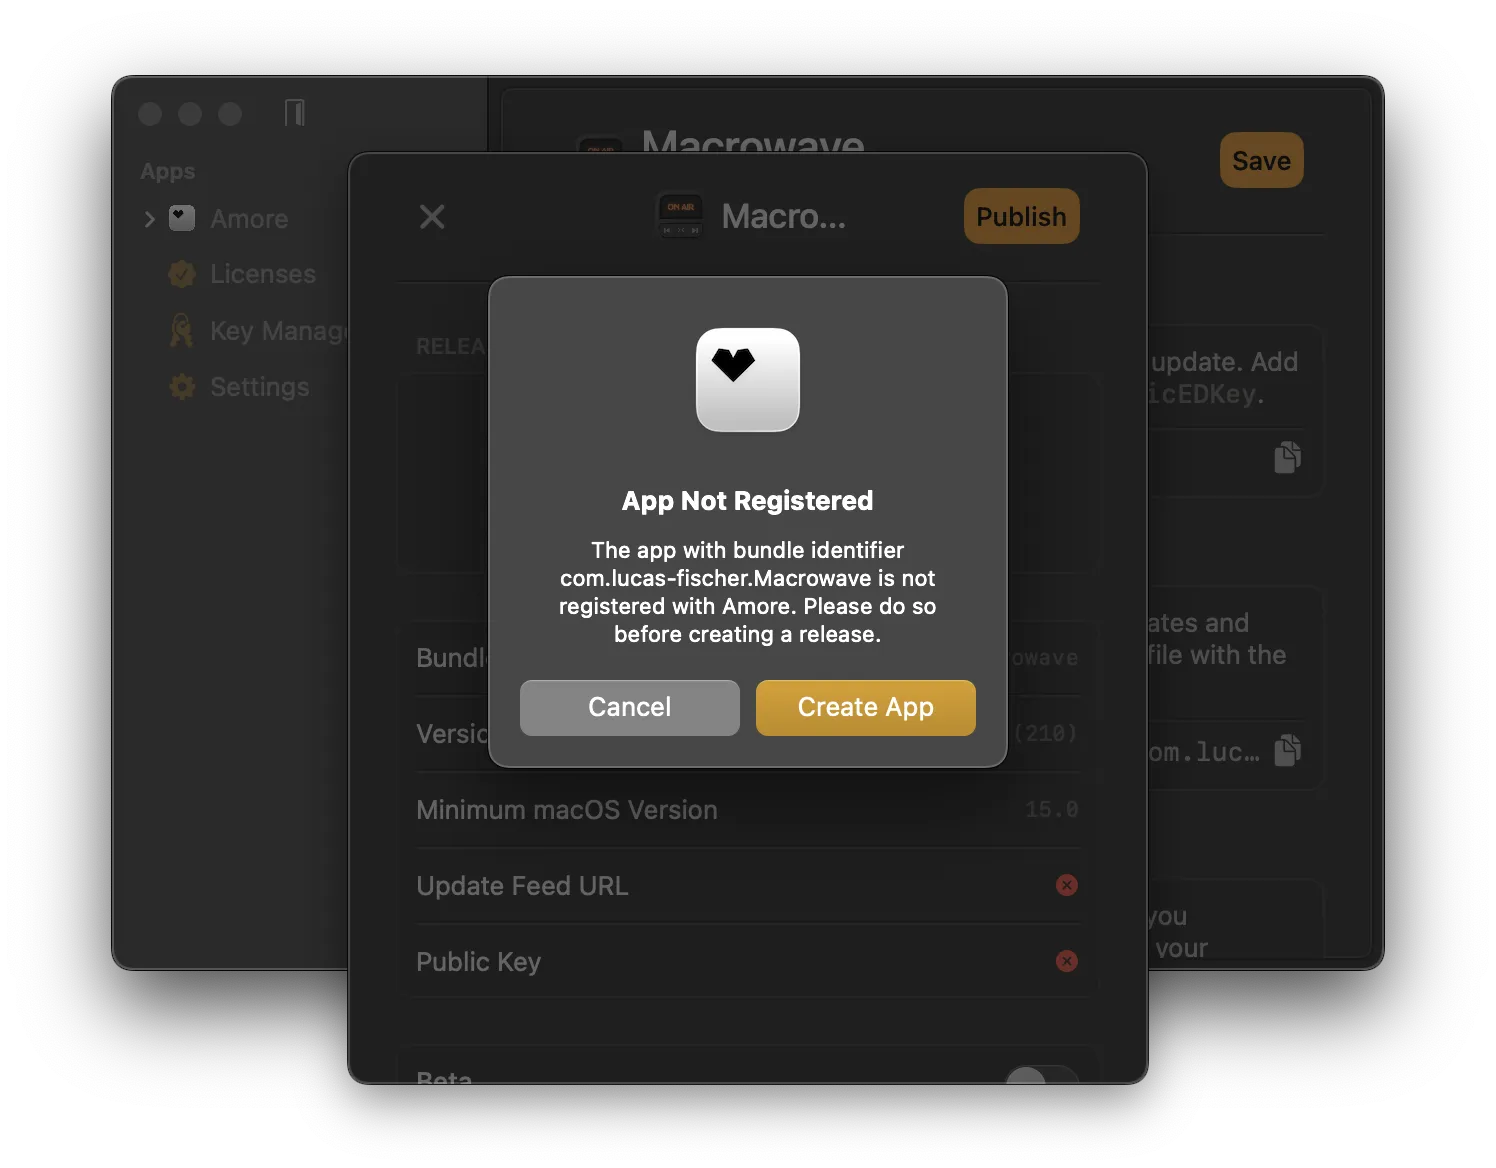
The in-app wizard will take you to through the following steps:
1. Register app with Amore / S3 setup
2. Creating Sparkle keys for signing app updates
3. Adding Sparkle to your project
Please follow the instructions inside the app.
## Add Sparkle to your project
For your app to be able to fetch and download updates you need to add [*Sparkle*](https://sparkle-project.org/) to your project.
Sparkle will need the following 2 entries in your `Info.plist` file to fetch and verify new updates:
- Update Feed URL: `SUFeedURL`
- Public Key: `SUPublicEDKey`
You can find the correct values for these entries in the `Sparkle` settings in Amore.
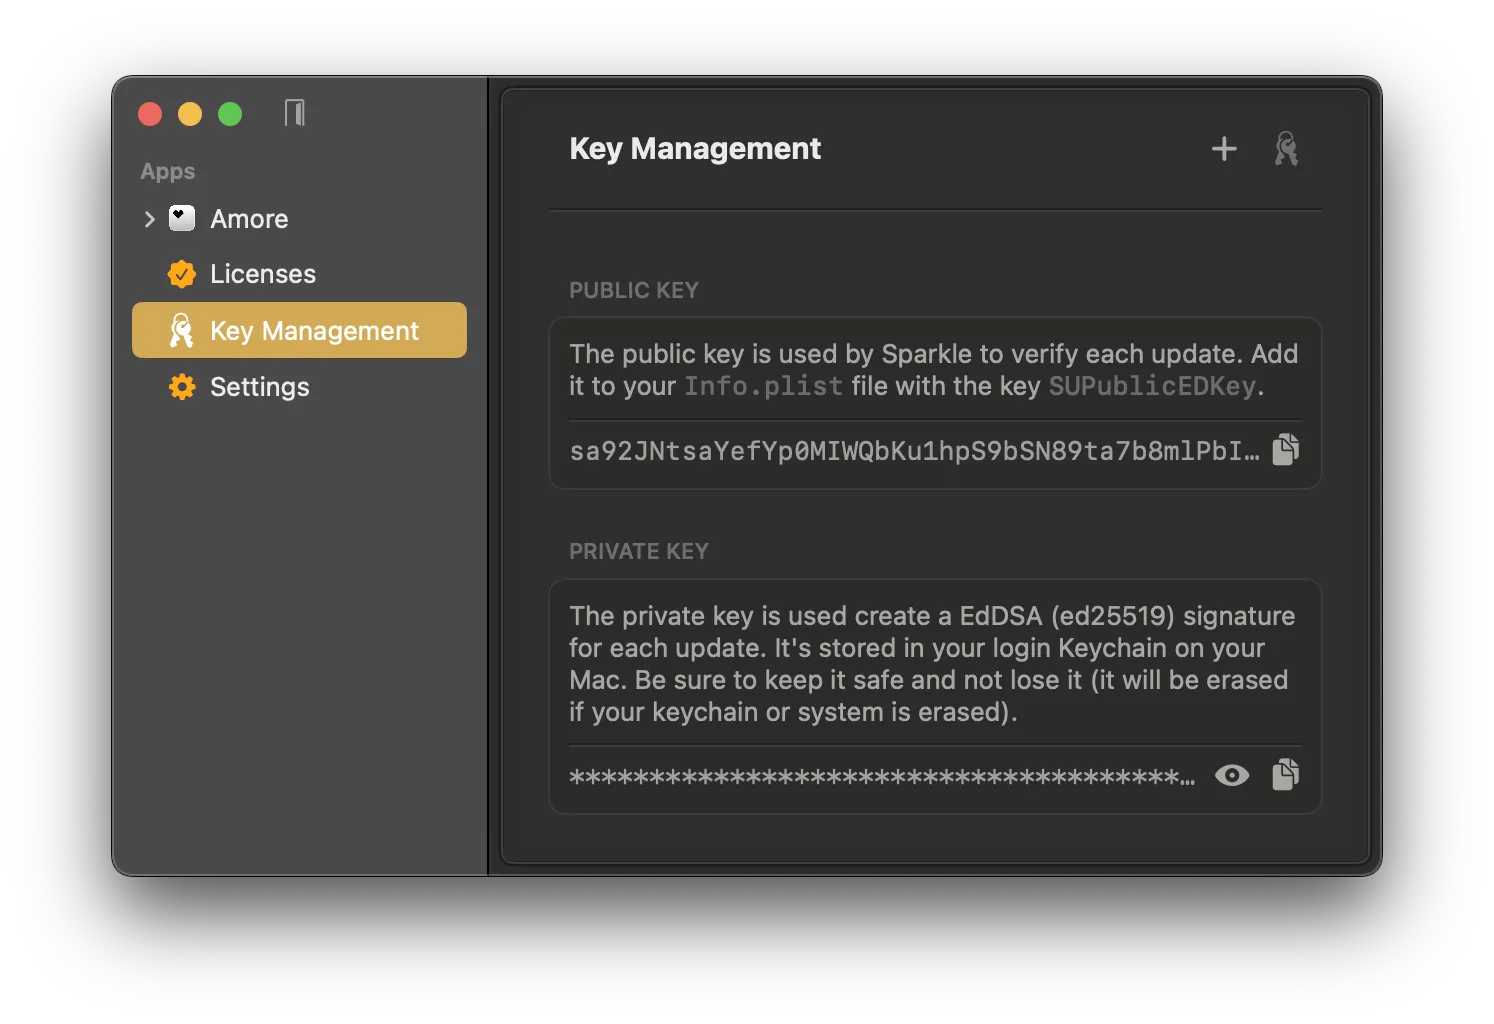
After you added `SUFeedURL` and `SUPublicEDKey` to your `Info.plist` you need to add Sparkle as a package dependency and initialize the Sparkle updater `SPUStandardUpdaterController` class in your source code.
### Add Sparkle Package Dependency
1. In your Xcode project: File › Add Packages…
2. Enter `https://github.com/sparkle-project/Sparkle` as the package repository URL
If you use Swift Package Manager (SPM) you can use:
```swift
.package(url: "https://github.com/sparkle-project/Sparkle", from: "2.8.1"),
```
### Initialize Sparkle
Initialize the `SPUStandardUpdaterController` in your app's `@main` entry point. Here is an example for a SwiftUI lifecycle project.
```swift
import SwiftUI
import Sparkle
@main
struct AmoreApp: App {
let updaterController = SPUStandardUpdaterController(
startingUpdater: true,
updaterDelegate: nil,
userDriverDelegate: nil
)
var body: some Scene {
WindowGroup {
ContentView()
}
.commands {
CommandGroup(after: .appInfo) {
Button("Check for Updates…") {
updaterController.updater.checkForUpdates()
}
}
}
}
}
```
It is recommend to also add the `Check for Updates...` menu bar button to be able to manually check for new updates.
If you don't use the SwiftUI app lifecycle you can add it to your app delegate's (`NSApplicationDelegate`) `didFinishLaunchingWithOptions` method.
### Sandboxing Notes
Sparkle requires [additional setup](/help/sparkle-sandboxing) when using the `App Sandbox` entitlement. For simplicity and the sake of getting started with Amore you can remove this entitlement from your app and add the `Hardened Runtime` entitlement instead.
## Publish your app
After you added Sparkle and set the correct values in your `Info.plist`, you are ready to distribute your app with Amore.
Now you can archive your app and select `Direct Distribution` in the Xcode Organizer to send your app to Apple for notarization. You can follow [these steps](https://developer.apple.com/documentation/security/notarizing-macos-software-before-distribution#Notarize-your-app-automatically-as-part-of-the-distribution-process).
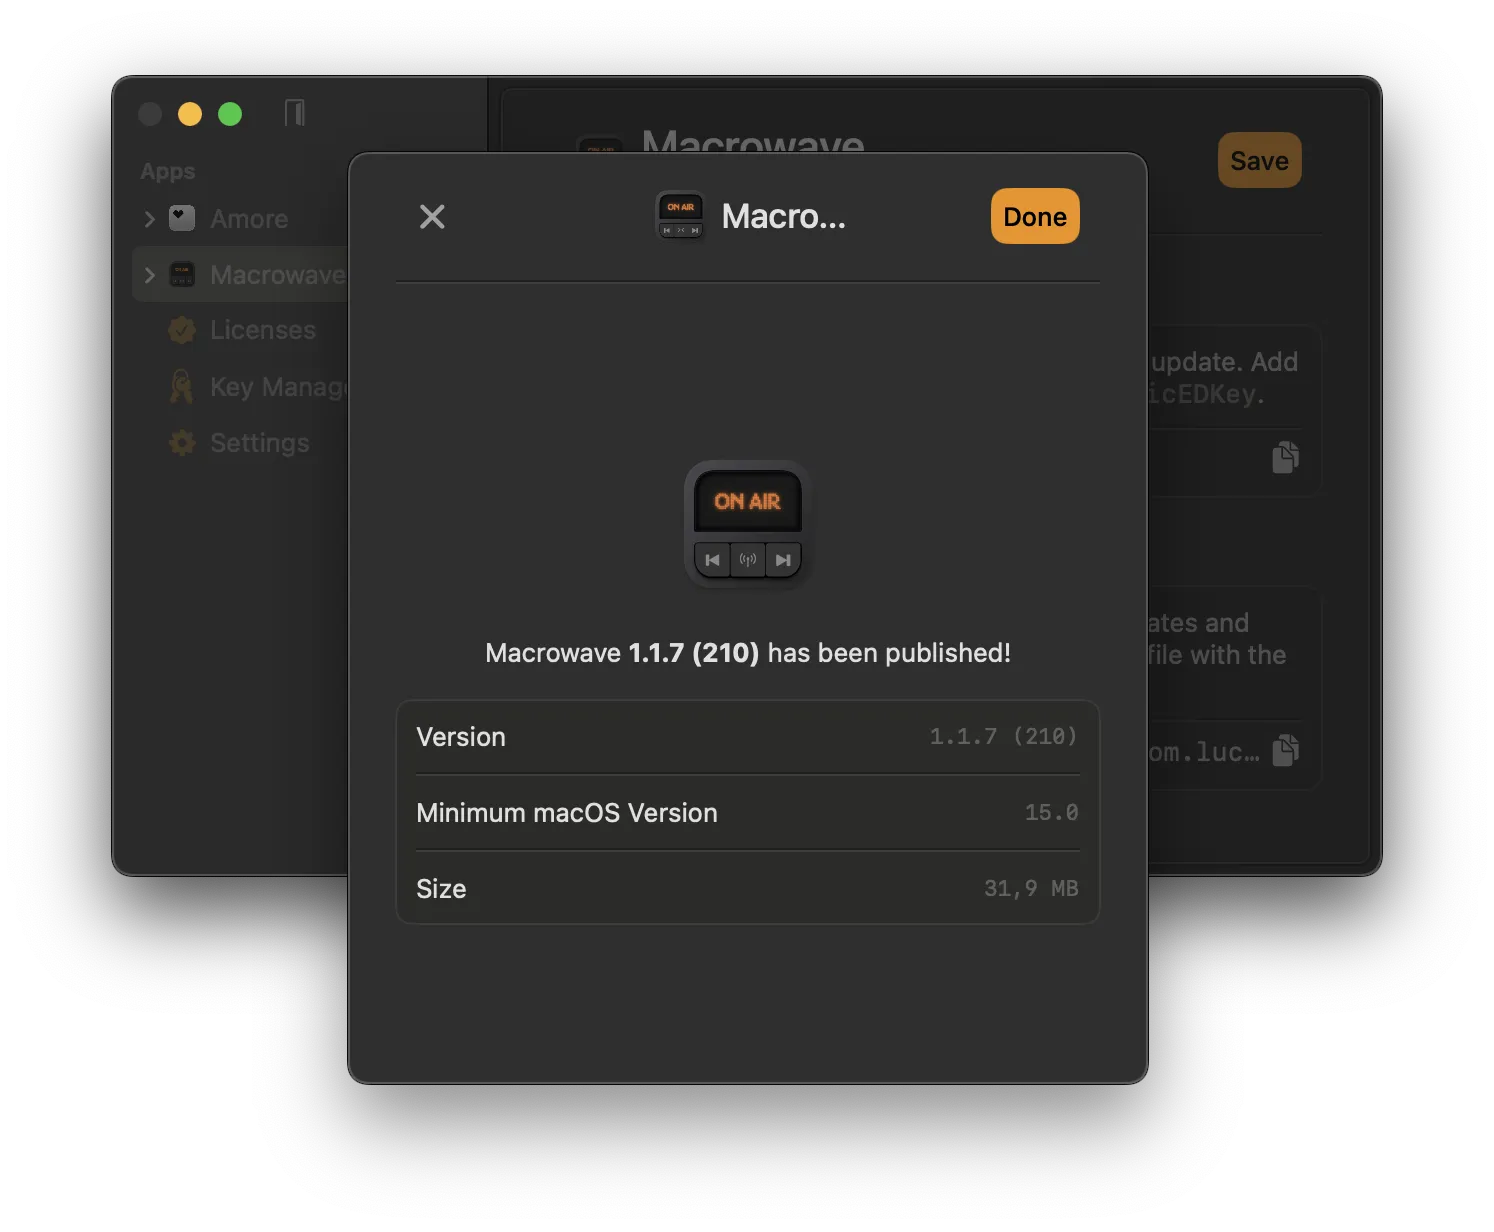
Once the app is notarized you can drag and drop your app binary (`.app`) into Amore, optionally write release notes and hit publish.
Congrats. You just published your first app with Amore.
## Where to go from here?
Whenever you want to release a new version of your app, increment the build number and go through the [release process](#publish-your-app) again.
To streamline the release process you can set up the [Xcode post-archive action](/help/xcode-post-archive-action/) to let Amore take care of code signing and the notarization process after archiving automatically.
If you prefer working from the terminal, the entire workflow — from setup to publishing — can be done via the [Command Line](/help/command-line/) without ever opening the app.
For a complete reference project that wires up Sparkle and AmoreLicensing in a small SwiftUI app, see the [Pomodoro example](https://github.com/AmoreComputer/Pomodoro).